|
Crash n Burn is getting ready to open in Neonopolis in downtown LV on 3/21. We helped create the design conceptual for this venue and are excited to see the end result. The Review Journal recently released an article on this exciting new venue: Iwww.reviewjournal.com/entertainment/food/skydiving-is-on-the-menu-at-new-downtown-restaurant-2912546/?fbclid=IwAR2fk9ECiosCiQyzKD2TalrDA0OJUqKzk6Mj8OdjbeQ6vcJbgyNK0JaSWmI You see our rendering gallery for Crash n Burn here 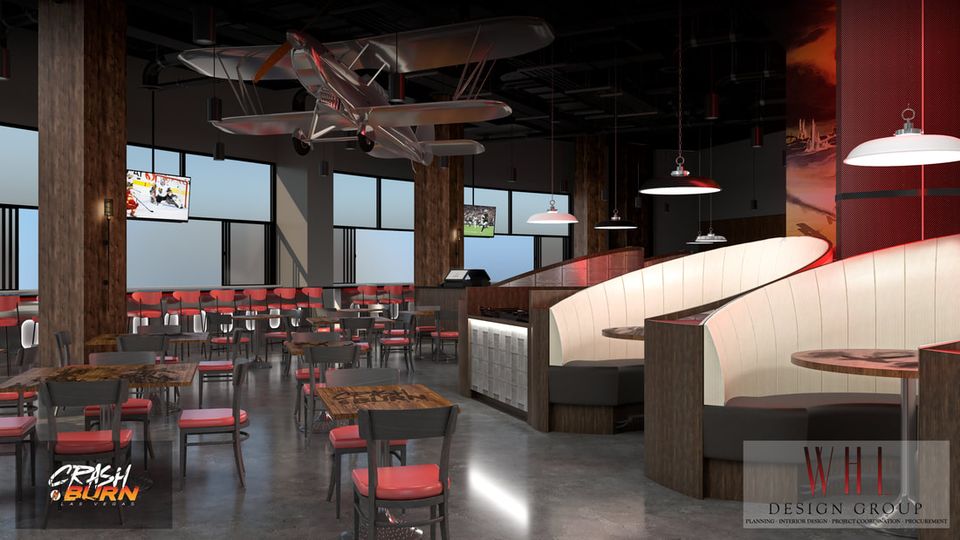
0 Comments
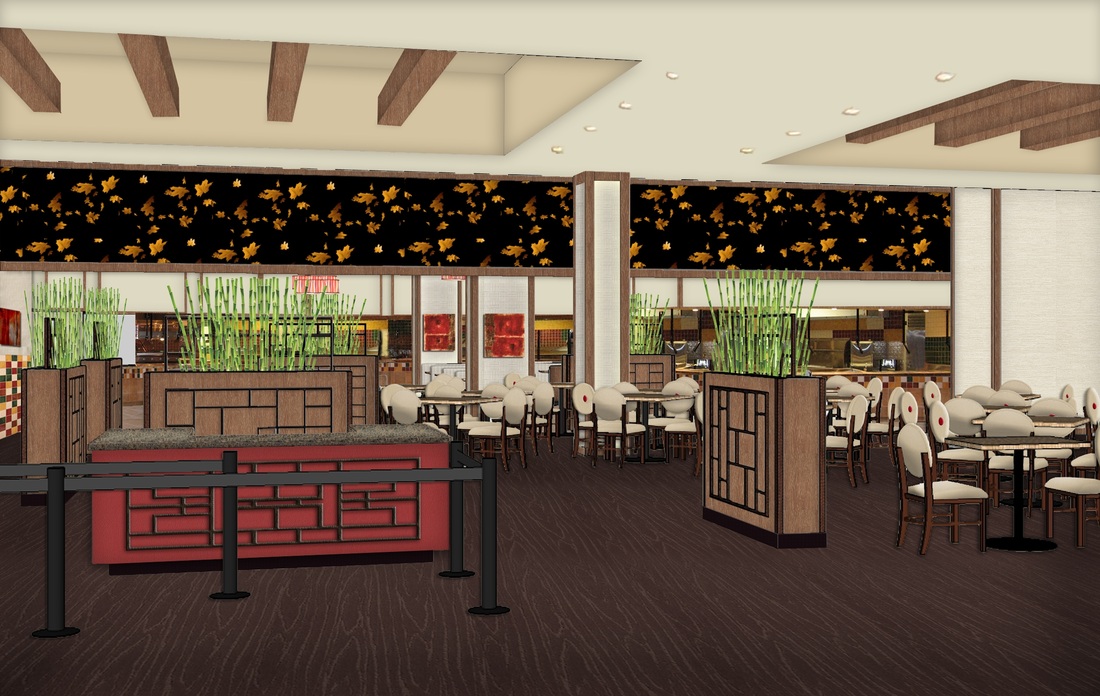
Check out this article about one of our latest projects... opening soon! https://vegas.eater.com/2021/3/22/22343257/taverna-costera-coastal-mediterranean-fusion-dining-opens-soon-arts-district 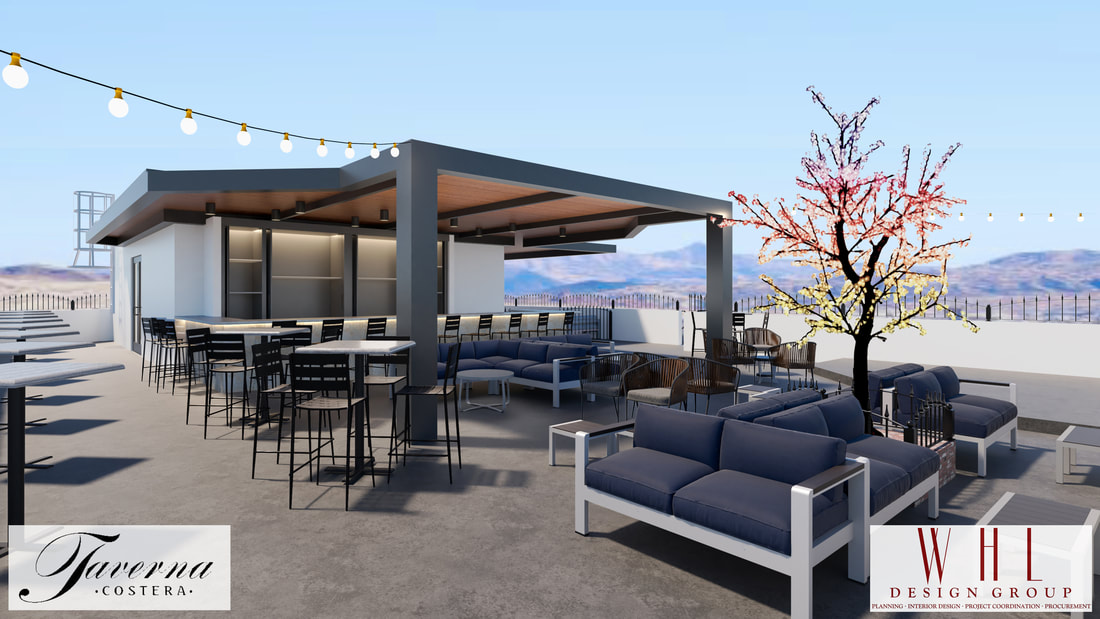 Check out this write up on one of our latest projects that recently opened. https://vegas.eater.com/2021/3/24/22347514/served-global-dining-brunch-dinner-open-henderson?fbclid=IwAR3sYdizsK3lCcqp99W92iviB7byyiWd4uULZI00srY1sE2cVmjcWJGyZNE  Check out these articles in the Las Vegas Review Journal and Eater Vegas about one of our latest projects in the works! https://www.reviewjournal.com/entertainment/food/henderson-restaurant-served-moves-to-bigger-spot-will-expand-menu-2093411/ https://vegas.eater.com/2020/8/13/21367787/henderson-served-global-dining-opens-october One of WHL Design Group's projects in the works was recently featured on Eater Vegas. Visit their website to learn more! vegas.eater.com/2020/3/4/21163984/taverna-costa-fusion-restaurant-coffee-shop-rooftop-bar-opening-june-arts-district?fbclid=IwAR183_TqzWFEbtvUw5M4eE7QwGxji0XNh_jO5S6c1hP0_MNtz_nl13cKxJY 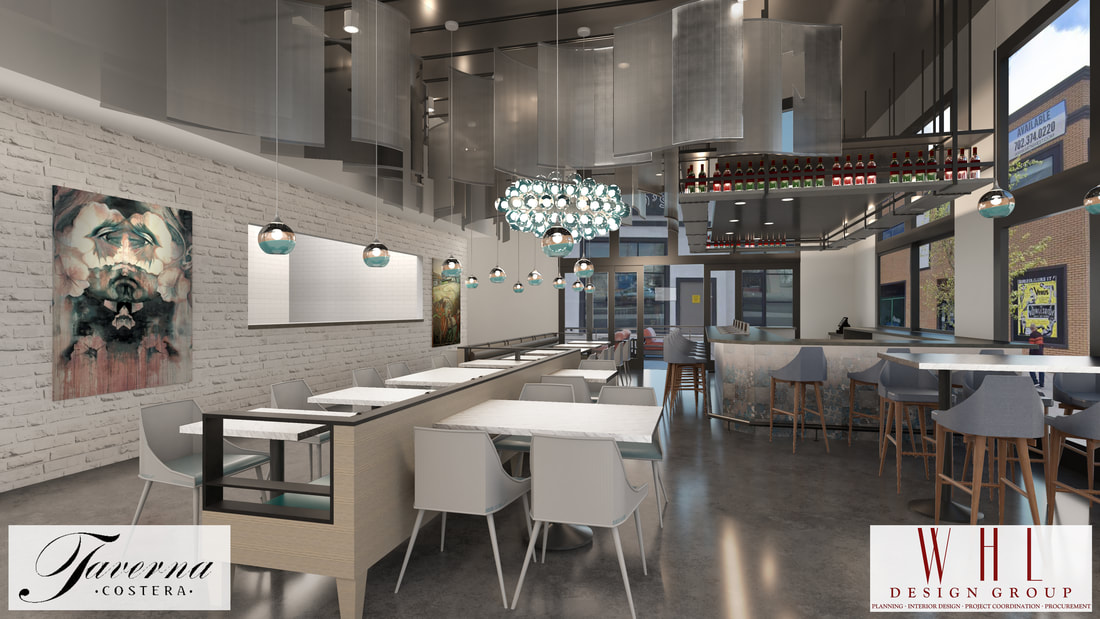 WHL Design Group recently completed the design work for a renovation job at the Guinn Center for Policy Priorities' new office location, we enjoyed the opportunity to work with such a great group of people. 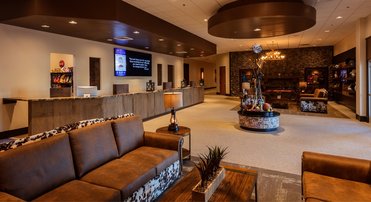
WHL Design Group helped the owners of Rising Star Sports Ranch create a contemporary ranch themed hotel with a unique concept. The property, which opened in October 2016, is located 80 miles north of Las Vegas is the city of Mesquite, NV. Known primarily as a golf destination, the owners of Rising Star Sports Ranch want to put Mesquite on the map for another offering, youth sports training camps and tournaments. The owners of Rising Star Sports Ranch enlisted WHL Design Group to help transform an abandoned hotel and casino into a unique property that not only catered to the golf crowd but could also be a family friendly destination that could host sports teams. The property includes the hotel, meeting rooms, a restaurant, and an arcade. Exterior areas include a pool, an area called “the backyard”, an area to relax and unwind. Also on site are fields for sports training and “The Barn”, a standalone 30,000 square foot building that can be configured for multiple sports. The property also has some high tech features including a room service robot named champ, surveillance drones that roam the property, and RFID wristbands that can open room doors, allow campers to purchase food and it can help monitor the campers to ensure they stay in their rooms after hours. The room mix includes the typical hotel room but also included are some unique room layouts including bunk rooms that can sleep up to six people per room and coaches rooms that can double as a casual meeting space for teams.
Click here to check out more photos of the Rising Star Sports Ranch WHL Design Group recently had the pleasure of being a part of the renovation of the Sunrise Children’s Hospital playroom. This project was coordinated by a young lady named Katie Lee as part of her Girl Scouts Gold Award project. We spent over a year coordinating with Katie to get the design of this project just right to ensure that the children staying in the hospital had a safe, bright, fun space to play. With the renovation being recently completed, the ribbon cutting ceremony was held on 06/20/2017, it was a wonderful experience being able to witness some of the children getting to play in this space. We would like to offer a sincere thank you to our vendors who offered to donate materials to this worthwhile project:
 Summer Market 2012 |
 |  |

 |  |
Lazy Susan
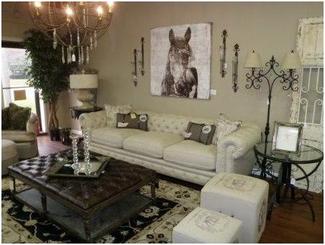
Some Classics...
 |  |
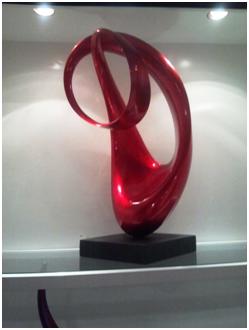
Old Hollywood… New, alive and affordable!!
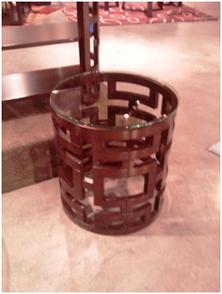
Old glam does not have to be expensive to look tasteful and classic!
 | 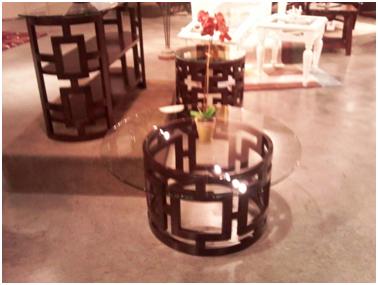 |
Mid Century Asian Infused!
Larry
Subscribe
Author
WHL Design Group is a full service Commercial Interior Design firm in Las Vegas, NV specializing in Hospitality, Retail, Corporate, Office, HOA & Multifamily design.
Archives
March 2024
March 2021
August 2020
March 2020
July 2017
June 2017
May 2013
August 2012
May 2012
April 2012
March 2012
February 2012
January 2012
December 2011
November 2011
October 2011
September 2011
August 2011
Categories
All
2012
2012 Design Trends
2013
2016
2017
2020
2021
2024
9/11
Affordable
African American
Architect
Art
Art Placement
Artwork
Bathroom
Campus
Charity
Christmas
Christmas Can Cure
Christmas Decor
Clean
Color
Comparison
Construction
Crash N Burn
Custom Made
Dallas
Decor
Decorating
Decorating Advice
Decorations
Design
Design Advice
Design Advise
Design Process
Design Segment
Disney
Diy
Donation
Eureka
Floating Furniture
Food
Fox
Fox5
Furniture
Furniture Placement
Get Away
Glossary
Golf
Gregorys
Guest Rooms
Guinn Center
Hd Expo
Headquarters
Hector Velez
Hgtv
Holiday Decor
Holidays
Home Decor
Home Design
Hospitality Design
Hospitality Design Expo
Hotel
Hotels
Idec
Interior Decorating
Interior Decorator
Interior Design
Interior Designer
Kitchen
Kitchen Design
Las Vegas
Las Vegas Metropolitan Police Department
Las Vegas Police
Lvmpd
Mesquite
Metro
Military Art
Minimal
Mlk
Moon Bar
More
National Constitution Center’s Art Of The American Soldier Exhibition
Nevada
News
Non-Profit
NV
Office Design
Online Inteirior Design
Paint
Painting
Painting Tips
Paul Williams
Playroom
Radford University
Recreate The Space
Recycle
Recycled Furniture
Recycled Interior
Recyled Decor
Relax
Rendering
Reproduction
Reproduction Furniture
Resort
Restaurant Design
Reuse
Rising Star Sports Ranch
Road Trip
Room Service Robot
Seasons
Sept 11
Served Global Dining
Sheriff Douglas C. Gilespie
Space Planning
Sports
Style
Sunrise Children's Hospital
Taverna Costera
Tenant Improvement
Thanksgiving
Timeless
Trends
Vacation
Vegas
Virtual Design
Virtual Designer
Virtual Interior Design
Ward Howes Lyden
Whl
Whl Commercial
Whl Design
Whl Designgroup
Whl Design Group
Woc
World Of Color
Wounded Warrior Project
 RSS Feed